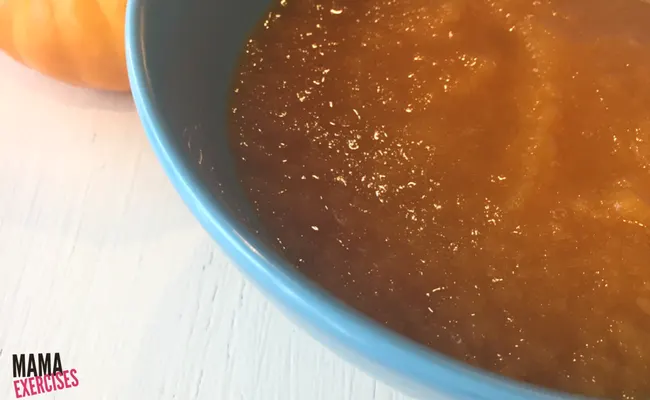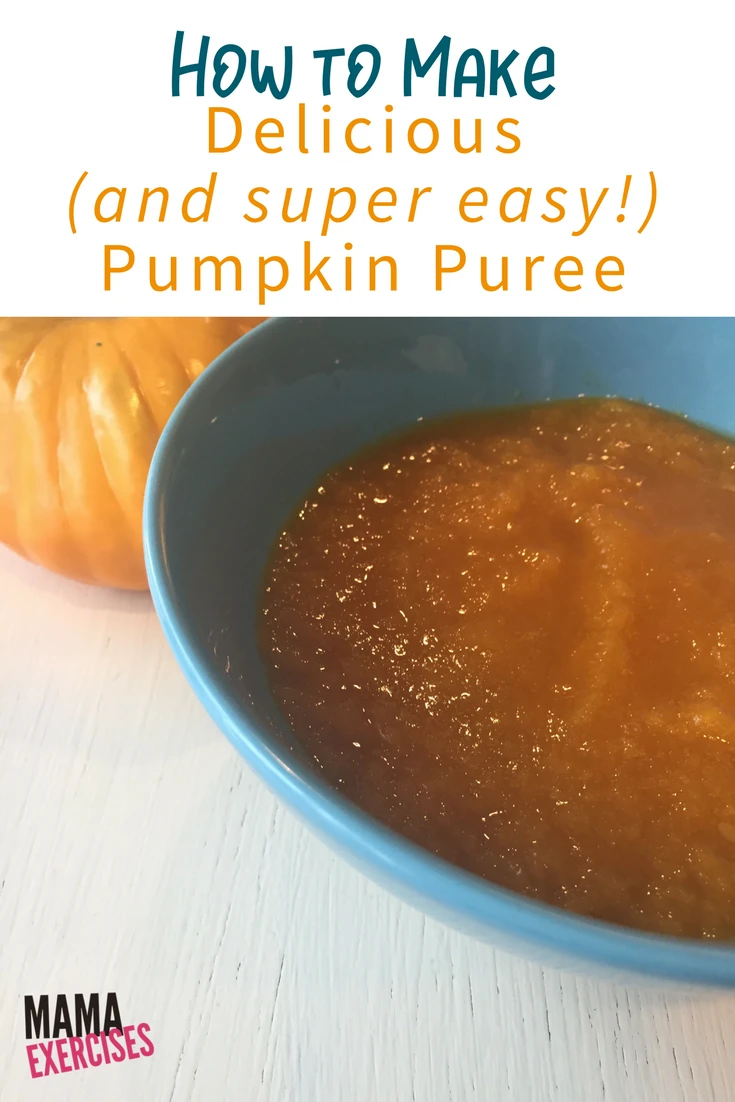
I have a secret love affair with pumpkins. No, not artificial pumpkin flavoring in expensive lattes and sweets (although, I wouldn’t say no…), but the fresh, pumpkin-y goodness from the garden grown squash. I’m like a little kid anxiously awaiting the Great Pumpkin as the weather turns cooler and pumpkin season arrives. From pumpkin seeds to pumpkin puree, there’s deliciousness everywhere!
But guess what? I learned that not everyone knows how to make pumpkin puree! Say what?! Let me teach you.
How to Make Pumpkin Puree
Making pumpkin puree is a lot easier than you may think and, despite the convenience of opening a can and using the pre-packaged stuff, it’s way tastier.
But, friend, listen carefully. If you’re already stressed out and running on empty – use the canned pumpkin puree. Forget about the rest of this article and give yourself permission to choose convenience of good food over the need to make your own. Seriously. Don’t stress.
Now, if you feel up for the challenge, you’re going to find it’s pretty darn easy. Ready? Here we go!
What You Need to Make Pumpkin Puree:
- A Sugar or Baking Pumpkin (These are the smaller pumpkins that the grocery stores may label “Pie Pumpkins” or “Sugar Pumpkins” – they’re not the gargantuan 15 pounders your kids are carving.)
Directions for Making Pumpkin Puree:
- Pre-heat your oven to 325 degrees Fahrenheit.
- Line two sturdy baking trays with foil.
- Wash off the outside of your pumpkin and pat it dry. (I do this so that when I slice through it, any of the dirt from outside of the pumpkin isn’t transferred to the inside)
- Cut your pumpkin in half from the stem to the bottom.
- Scoop out the seeds and the pulp.
- Cover the exposed part of the inside of the pumpkin with foil and place both covered halves, foil side up, on the baking trays.
- Bake for about 60-90 minutes or until tender.
- Remove them from the oven and let cool for 10 minutes.
- Scoop the pumpkin meat from each half and blend in a blender.
- When cool, portion the pumpkin puree into individual containers. It can be frozen for up to about 6 months – which means fresh pumpkin pie all winter long!
And there you have it! Roasting your own pumpkins not only makes the house smell divine, but it provides your family with tons of vitamins and minerals that will fuel their bodies with goodness.
See? That was pretty easy, wasn’t it? Give it a try and let me know how it goes for you!
xo,
Brandi

